With Microsoft making a bigger name for itself in the security space in recent years, more and more are looking to utilise what they already pay for in their bundle SKUs like Business Premium/M365 E3/M365 E5.
In this post, I'll show you how easy it is to start using Defender for Endpoint for machines already enrolled to Intune.
Assumptions#
Your tenant has users licensed with any of the following:
(License | Which Defender edition it includes)
- Microsoft 365 Business Premium | Defender for Business
- Microsoft 365 E3 | Defender for Endpoint Plan 1
- Microsoft 365 E5 | Defender for Endpoint Plan 2
We are focusing on SMB in this post, so features available for Business Premium customers will be enabled.
Components#
Defender is built into Windows and is always there whether you use it or not. How much it does when you have another AV as your primary is mostly dictated by the setting "Enable EDR in block mode" which is found in the Microsoft Security portal under Settings --> Endpoints --> Advanced Features.
The three components or sections I think of when implementing Defender for Endpoint are:
- The Microsoft Security portal - We configure how the product behaves, how we get alerted, and can investigate alerts and incidents from this portal. Your endpoints "onboard" to this portal and send data here
- The device onboarding - As mentioned, Defender is already in Windows, but until you onboard a device to your tenant, you don't get the insights as to what the protection is really doing
- The local agent settings - How should Defender behave locally on the endpoint? When should the scans happen? What should/should not be scanned? What are my exclusions? What's my firewall doing? I choose to use Intune for this, but some settings can be managed by the Security portal.
The goal of endpoint security is to prevent Defender for Endpoint raising an alert or having to step in and protect. That sounds odd right? But when you think about it, if we take an example scenario:
- User wants to convert a PDF to Word document
- User searches for a free tool which can do this
- User downloads said tool which is an executable
- User launches the executable as an admin as it is requested
- Machine is infected and malware is installed, Defender attempts to prevent
At steps 1-4 we have an opportunity to prevent this without using antivirus at all
- The user should request the software or describe their problem to IT, they advise a safe method
- The browser could have SmartScreen enabled, which prevents them going to the dangerous site
- Downloads of executable files could be blocked by browser settings
- The user should not be a local admin
Why local settings matter#
The best way of achieving a strong endpoint with the most advanced preventative measures is by using Intune. No RMM, or other third-party tool which claims to "secure your endpoints" has the Settings Catalog available to them, which means they are either stuffing a few select reg keys for you, or focussing their strengths on monitoring a lot of other stuff that isn't actually contributing to the security effort.
Some of you might think "hang on I can do all this with Group Policy". The answer to that is yes you can for the majority of the things; but when it comes to having real insight as to which settings are actually being applied, Intune is just better, doesn't require line of sight to a special box in your server room, and you probably already pay for it... ASR rules also have some nifty exclusives in the Intune world too, so get cloud native or go home.
If you need to get started with local policies, check out https://openintunebaseline.com
Local settings and policies are critical to preventing business compromise. The alerting and investigation stuff you see in the Microsoft Security portal is what you need if all else fails and you need to work out how and why something has happened, and what you can do do prevent further damage, or lateral movement.
Licensing#
If you mix and match M365 E3/E5 with Business Premium, your Microsoft Security experience is set to the Defender for Business level. I can theorise this was a move by Microsoft to prevent people buying a single E5 license to get Defender P2 features for all Business Premium users. Contact support for help if you have the correct Defender P2 quantity for your deployment.
M365 Maps has just been updated!!!! Check it out
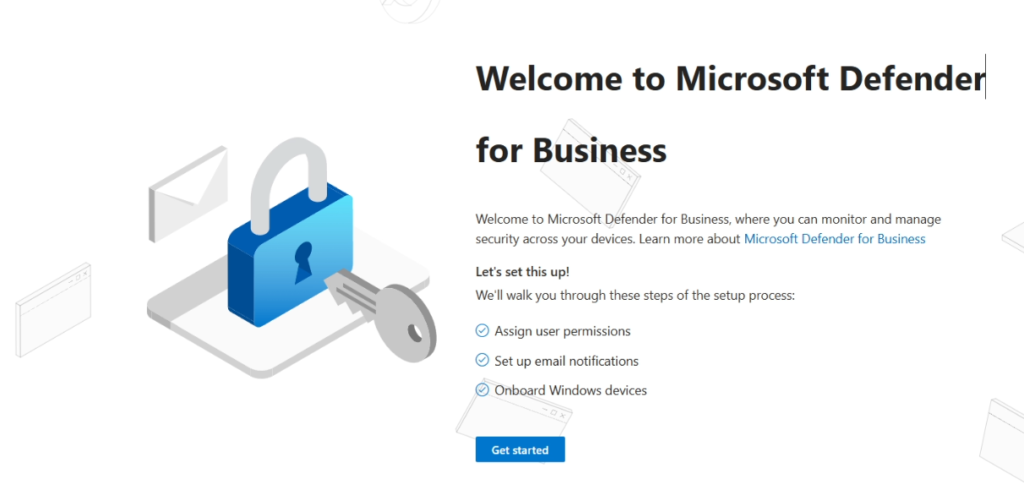
Microsoft Security Portal#
Let's get started.
Head to https://security.microsoft.com
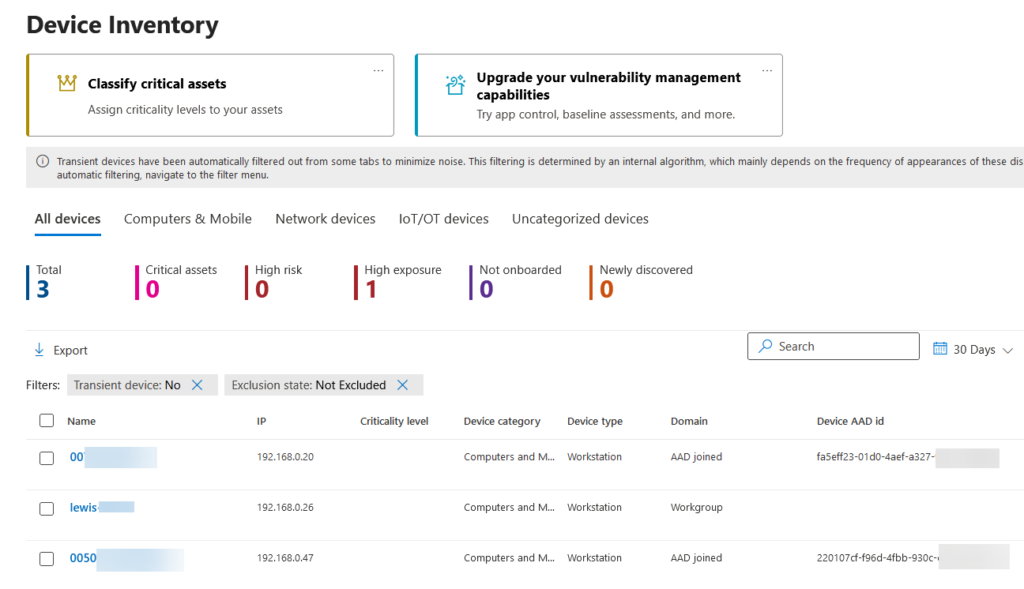
Click Assets --> Devices:
Allow about 2 hours, then come back to https://security.microsoft.com
Click continue all the way through the setup, configure alerts if you would like, but ignore any options about onboarding devices since we'll do that from Intune later.
Next, head to:
Settings --> Endpoints --> Advanced Features#
I recommend the below settings for most environments using Business Premium
| Setting Name | Setting Value |
| Enable EDR in Block Mode | ON |
| Allow or block file | ON |
| Hide potential duplicate device records | ON |
| Custom network indicators | ON |
| Tamper Protection | ON |
| Skype for business integration | ON |
| Microsoft Defender for Cloud Apps | OFF |
| Web content filtering | ON |
| Unified audit log | ON |
| Device discovery | ON |
| Default to streamlined connectivity when onboarding devices in Defender portal | ON |
| Apply streamlined connectivity settings to devices managed by Intune and Defender for Cloud | ON |
| Live Response | OFF |
| Live Response for Servers | N/A |
| Live Response unsigned script execution | OFF |
| Share endpoint alerts with Microsoft Compliance Center | OFF |
| Microsoft Intune connection | ON |
| Authenticated telemetry | ON |
| Preview features | OFF |
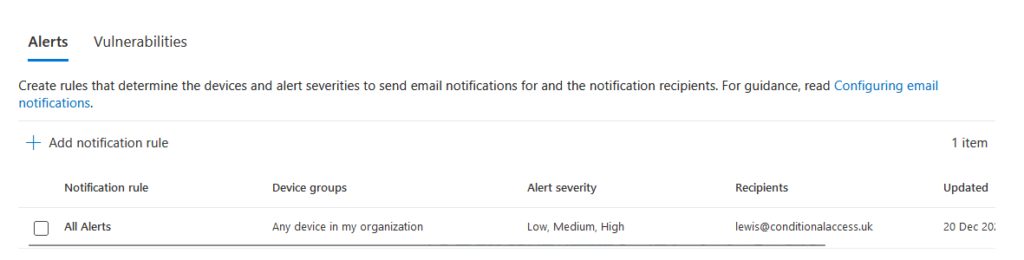
Email Alerts#
Initially with a new product you might want to see everything, then dial it back later once you are confident it is working.
If you configured alerting during the onboarding, check Security Portal --> Settings --> Microsoft Defender XDR --> Email notifications
If you haven't configured alerting and want to for endpoint only, go to Settings --> Endpoints --> Email notifications --> Create policy
Now we can go to Intune: https://intune.microsoft.com
Endpoint Security --> Endpoint detection and response#
Create a policy type "Endpoint detection and response", give it a name like: Defender for Endpoint onboarding,
| Setting Name | Value |
| Microsoft Defender for Endpoint client configuration package type | Auto from Connector |
| Sample Sharing | All (Default) |
| [Deprecated] Telemetry Reporting Frequency | Not configured |
Assign to devices of your choice.
Your devices will automatically onboard.
While your devices are technically now protected by Defender for Endpoint, we've still got some work to do.
What about my existing AV?#
Defender can work alongside your existing AV, it will detect that something else is there and switch to Passive Mode. Your mileage may vary on how much impact this has on your machines, but the way I handle this is with pilot groups.
- Onboard your pilot devices
- Apply the local settings as described in the next steps of this post
- Hope nothing breaks
- Script and deploy the removal of old AV (sorry if that's McAfee)
- Hope nothing breaks
- Go bigger with steps 1-5
- Repeat until complete
"Ever since"#
The phrase that causes mental health damage to IT professionals everywhere...
If you suspect your Defender pilot is going badly, users reporting slow machines, the scanning process is chewing on something it shouldn't and using all CPU, then we turn to trying to find proof of such travesty.
Use the Performance Analyzer for Microsoft Defender for Endpoint. It's a command line tool which shows what Defender is working on (don't be scared of PowerShell, read the doc and try it yourself).

When I did this once I saw that Defender was trying to scan paths which belonged to the primary AV, so I added exclusions for them.
As a general rule, you don't want any exclusions for Defender when done with your project. That is old thinking and you're opening yourself up for exploitable attack. Suppose you are the victim of something which is actually highly sophisticated (unlike a badly written phishing email which we always see in the news), if that attacker knows you use onPremiseAccountingSoftware.exe and installation guide for that software is recommending AV exclusions, where would you put your nastyFile.exe?

Local Defender Settings, ASR, and Firewall#
You'll want to create a policy for how Defender and other components should behave locally on the endpoint.
Antivirus#
In Endpoint Security --> Antivirus, create a policy with type "Microsoft Defender Antivirus"
Again, this is what I recommend you could start with:
| Setting Name | Value |
| Allow Archive Scanning | Allowed |
| Allow Behavior Monitoring | Allowed |
| Allow Cloud Protection | Allowed |
| Allow Email Scanning | Allowed |
| Allow Full Scan On Mapped Network Drives | Not configured |
| Allow Full Scan Removable Drive Scanning | Allowed |
| [Deprecated] Allow Intrusion Prevention System | Not configured |
| Allow scanning of all downloaded files and attachments | Allowed |
| Allow Realtime Monitoring | Allowed |
| Allow Scanning Network Files | Allowed |
| Allow Script Scanning | Allowed |
| Allow User UI Access | Allowed |
| Avg CPU Load Factor | 50 |
| Archive Max Depth | Not configured |
| Archive Max Size | Not configured |
| Check For Signatures Before Running Scan | Enabled |
| Cloud Block Level | High |
| Cloud Extended Timeout | 50 |
| Days To Retain Cleaned Malware | Not configured |
| Disable Catchup Full Scan | Disabled |
| Disable Catchup Quick Scan | Disabled |
| Enable Low CPU Priority | Enabled |
| Enable Network Protection | Enabled (block mode) |
| PUA Protection | PUA Protection on |
| Real Time Scan Direction | Monitor all files (bi-directional) |
| Scan Parameter | Your choice |
| Schedule Quick Scan Time | Your choice |
| Schedule Scan Day | Your choice |
| Schedule Scan Time | Your choice |
| Signature Update Interval | 4 |
| Submit Samples Consent | Send safe samples automatically |
| Disable Local Admin Merge | Disable Local Admin Merge |
| Allow On Access Protection | Allowed |
| Remediation action for High severity threats | Remove |
| Remediation action for Severe threats | Remove |
| Remediation action for Moderate severity threats | Remove |
| Remediation action for Low severity threats | Block |
Firewall#
Now we can instruct how the Windows Firewall with Advanced Security should behave.
Endpoint Security --> Firewall --> New policy type "Windows Firewall"
| Setting Name | Value |
| Certificate revocation list verification | Not configured |
| Disable Stateful Ftp | True |
| Enable Packet Queue | Not configured |
| IPsec Exceptions | Not configured |
| Opportunistically Match Auth Set Per KM | Not configured |
| Preshared Key Encoding | Not configured |
| Security association idle time | Not configured |
| Enable Domain Network Firewall | True |
| Allow Local Ipsec Policy Merge | Not configured |
| Allow Local Policy Merge | Not configured |
| Auth Apps Allow User Pref Merge | Not configured |
| Default Inbound Action for Domain Profile | Block |
| Default Outbound Action | Allow |
| Disable Inbound Notifications | True |
| Disable Stealth Mode | False |
| Disable Stealth Mode Ipsec Secured Packet Exemption | Not configured |
| Disable Unicast Responses To Multicast Broadcast | Not configured |
| Enable Log Dropped Packets | Enable Logging of Dropped Packets |
| Enable Log Ignored Rules | Not configured |
| Enable Log Success Connections | Enable Logging of Successful Connections |
| Global Ports Allow User Pref Merge | Not configured |
| Shielded | Not configured |
| Log File Path | %SystemRoot%\System32\logfiles\firewall\domainfw.log |
| Log Max File Size | 16384 |
| Enable Private Network Firewall | True |
| Allow Local Ipsec Policy Merge | Not configured |
| Allow Local Policy Merge | Not configured |
| Auth Apps Allow User Pref Merge | Not configured |
| Default Inbound Action for Private Profile | Block |
| Default Outbound Action | Allow |
| Disable Inbound Notifications | True |
| Disable Stealth Mode | Not configured |
| Disable Stealth Mode Ipsec Secured Packet Exemption | Not configured |
| Disable Unicast Responses To Multicast Broadcast | Not configured |
| Enable Log Dropped Packets | Enable Logging of Dropped Packets |
| Enable Log Ignored Rules | Not configured |
| Enable Log Success Connections | Enable Logging of Successful Connections |
| Global Ports Allow User Pref Merge | Not configured |
| Shielded | Not configured |
| Log File Path | %SystemRoot%\System32\logfiles\firewall\privatefw.log |
| Log Max File Size | 16384 |
| Enable Public Network Firewall | True |
| Allow Local Ipsec Policy Merge | False |
| Allow Local Policy Merge | False |
| Auth Apps Allow User Pref Merge | Not configured |
| Default Inbound Action for Public Profile | Block |
| Default Outbound Action | Allow |
| Disable Inbound Notifications | True |
| Disable Stealth Mode | Not configured |
| Disable Stealth Mode Ipsec Secured Packet Exemption | Not configured |
| Disable Unicast Responses To Multicast Broadcast | Not configured |
| Enable Log Dropped Packets | Enable Logging of Dropped Packets |
| Enable Log Ignored Rules | Disable Logging of Ignored Rules |
| Enable Log Success Connections | Enable Logging of Successful Connections |
| Global Ports Allow User Pref Merge | Not configured |
| Shielded | Not configured |
| Log File Path | %SystemRoot%\System32\logfiles\firewall\publicfw.log |
| Log Max File Size | 16384 |
| Object Access Audit Filtering Platform Connection | Failure |
| Object Access Audit Filtering Platform Packet Drop | Failure |
You need to pay particular attention to the "Local Policy Merge" settings here. Setting this to False makes Intune the source of truth; any application which created rules made during setup will be ignored and things may break unless you configure additional rules within Intune to cover for them.
Check out an example of how to create a custom firewall rule using Intune: https://conditionalaccess.uk/allowing-the-sonos-app-via-an-intune-firewall-configuration/
Attack Surface Reduction#
ASR rules are incredibly powerful, but cannot be configured overnight - unless you're starting out with audit mode. I made a post all about ASR rules which covers how to use them.
Attack Surface Reduction - Action Required! - Conditional Access
You are Defended!#
Congratulations, you've onboarded and protected your Windows devices using Defender for Business.
Point of Order#
If you've targeted your policies to "all devices", you can sit back and rest assured that every new device will pick up your onboarding and protection settings.
If your "All devices" group is a dynamic group you made yourself with this query:
(device.devicePhysicalIDs -any (_ -startsWith "[ZTDid]"))Then this means devices that did not go through Autopilot will not get any of your Intune settings. I've seen this a few times where bad tenant configs allowed any machine to enrol into Intune if a user provided creds. I recommend blocking personal device enrolment which only allows Autopilot registered devices to join your company's tenant.

There's also a handy view in Intune to detect onboardings too:

Please email me if you think there's unanswered questions or bits missing and I'll do my best to edit this post: lewis@conditionalaccess.uk